A lot of people are often put off with doing a canvas. The best way to approach doing a project like
this is think of it as a large card blank.
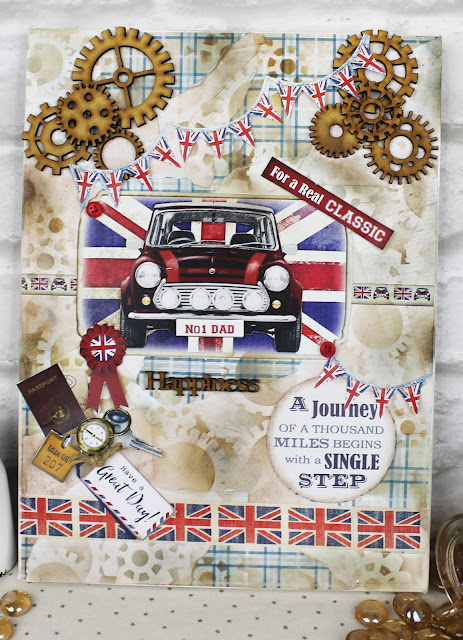
Shopping List:
White Canvas
Design Sheet
Backing Papers
Union Jack Ribbon
MDF pieces
Red Buttons
string
Brown/blue distress ink
Method
- First of all start off with layering the base of your
canvas using your chosen backing papers.
Tear them into sections to create a patch effect. Attaching into place using a wet glue.
TOP
TIP: by tearing them into sections it
enables you to create definition and also leave blank areas for you to use your
stencils with distress inks - Decide where you are going to put your main
features. Once this has been
decided then you know what your main layouts will be.
- Using your free stencil with distress inks. Rotate the stencil design around the
canvas and rub ink onto the stencil to transfer the pattern onto the
canvas.
- Once you are happy with the first layer of distress
ink, use the other contrasting colour and create more definition by rubbing
distressing ink around the edges.
- Once the base of the canvas has been completed, fix in
place our main features as per point 2.
- Attach the mdf pieces with craft glue as shown, using
wet glue or silicone glue.
- If using silicone glue, make sure you leave your work
to dry for about an hour.
- Using your bunting paper, cut out 2 bunting strips and
fix to the canvas as shown, attaching into place using craft glue.
- Cut out your all your extra embellishments and
sentiments, taken from your free papers and your free digital collection
and fix to the canvas as shown.
- Attach a few
buttons with craft glue around the main topper.
- Finish by rubbing more distress ink so it all blends
together.


Comments
Post a Comment