Faux Leather Cat Frame
Good Morning Crafters
We have something today for all you cat lovers out there.
A number of our design team members are cat lovers including me!
Samantha shares her step by step with you and she has used products from the Personal Impressions website.
Products used for this project are;
Marianne Design folder
DF3411(paw prints)
Marianne Design Collectables
COL1344 ( cats)
Studio Light - My Botanic
Garden paper pad for butterflies.
Crafty Impressions Cream
chiffon flowers.
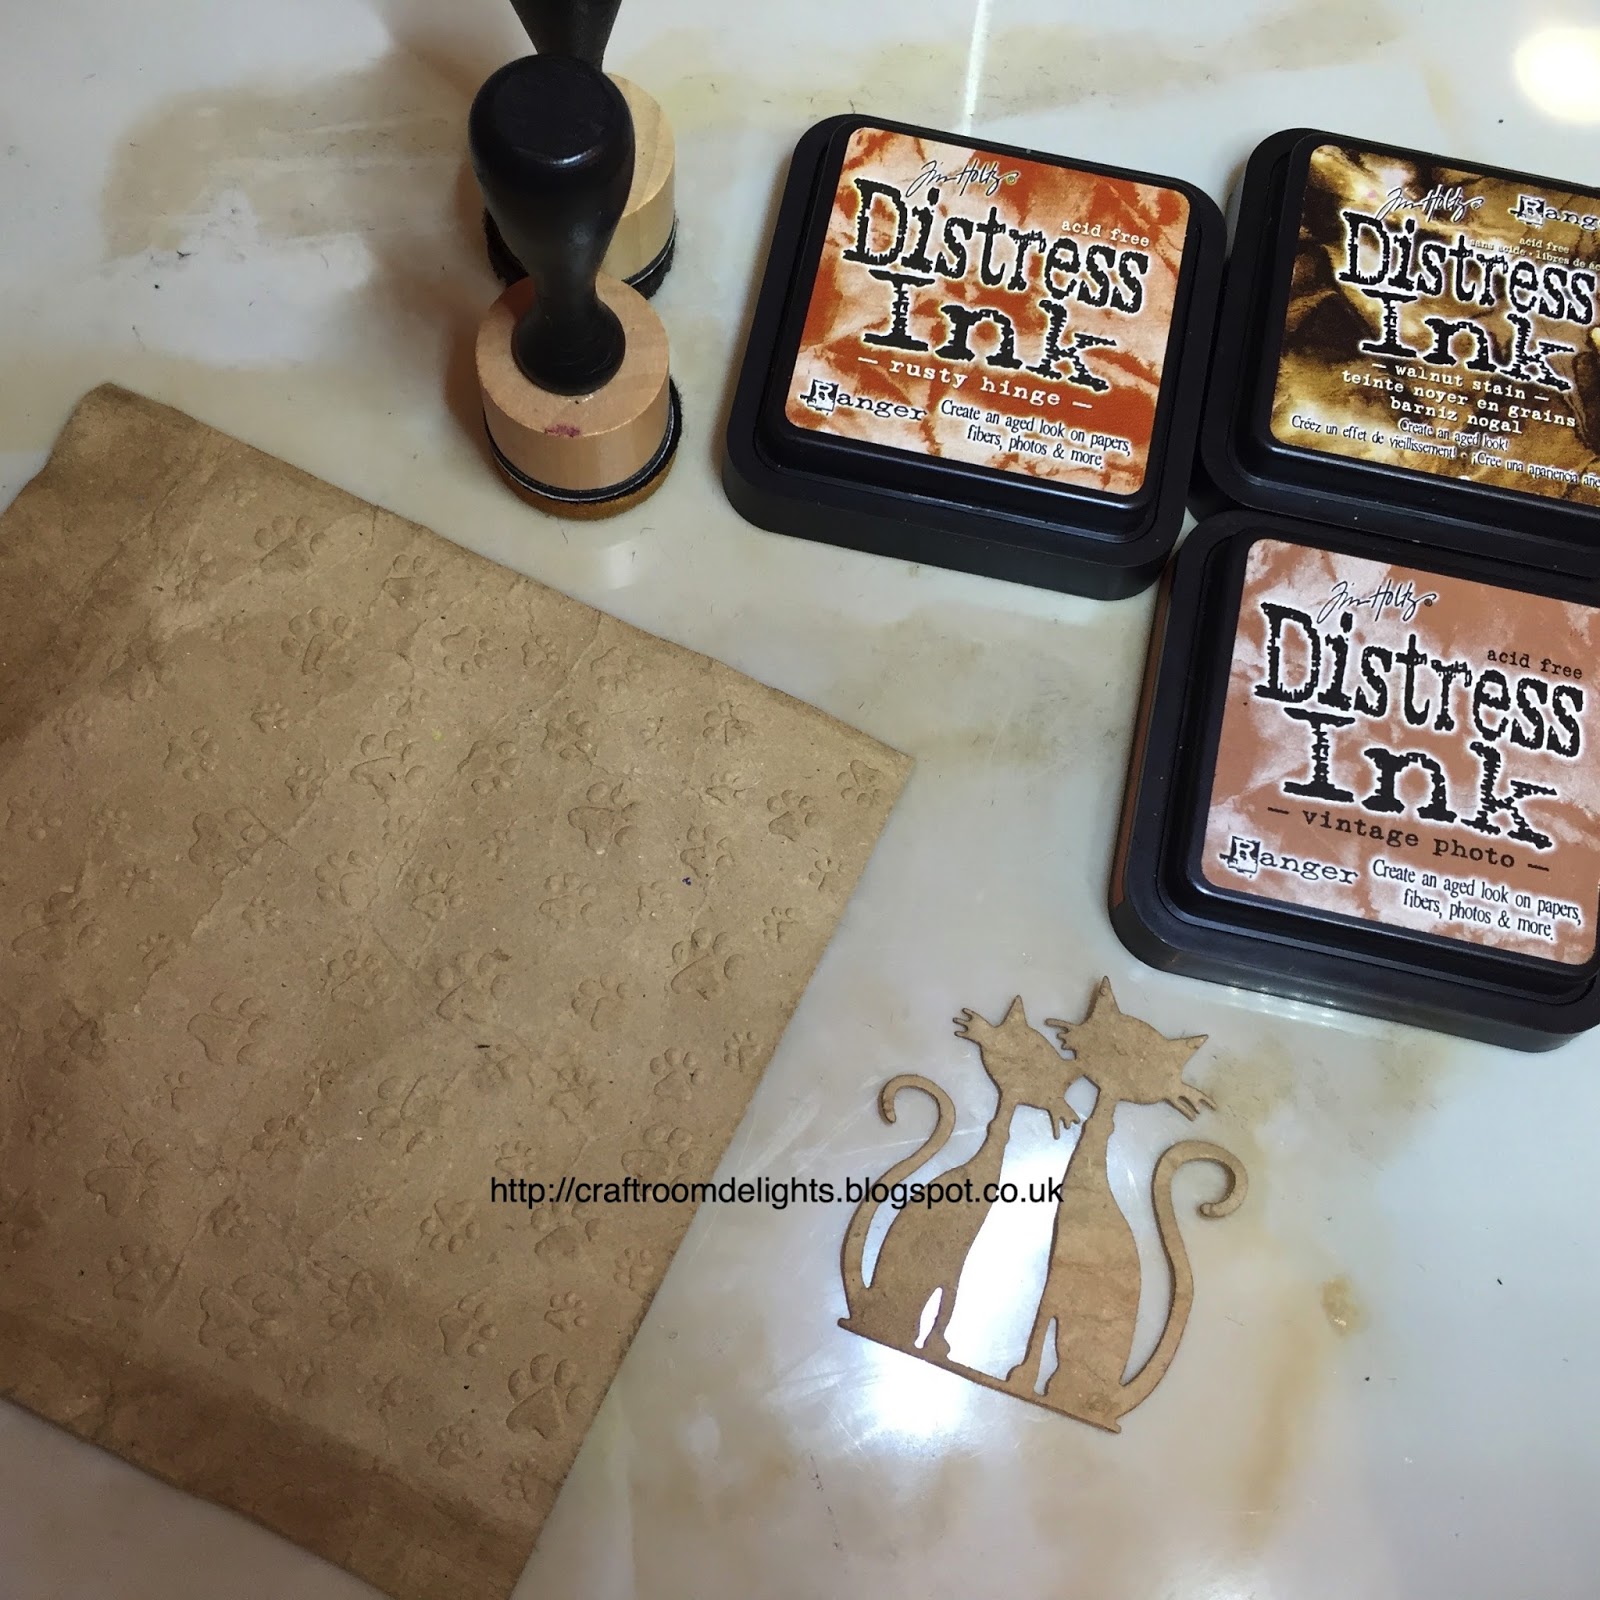
Distress inks -rusty hinge,
vintage photo and walnut stain.
Distress stain - vintage
stain for wood.
Viva Inka Gold.
Ranger, glossy accents and
stickles star dust.
For faux leather - Kraft
card, Glycerine 1;4 water, spray gloss varnish.
Extras
recycled
embellishments tray, wooden hearts, paw, flower bling, bird cage.

Step 1
Spray the Kraft card both sides with the Glycerine mixed with water 1;4 parts,
Take time until soft and pliable and you can screw it up to look like a shammy leather.


Step 2
While still damp, place in embossing folder and run though machine.
Cut out cats twice and glue on top of each other to give them strength .
Step 3
Leave to dry.
Then add a mixture of Distress inks until it look like leather.
Spray with a gloss varnish to seal distress inks and the finished look of leather.

Step 4
Use Distress stain Vintage Photo to colour frame.

Step 5
Cut the faux leather to fit in squares and glue in place.
Add Viva gold and stickles to the edges to lift them.

Step 6
Cut a few butterflies from the paper pad and shape with a ball tool and mat.
Cover the cats and butterflies in glossy accents and leave to dry.

Step 7
Arrange and glue everything in place

Hope you like the kitty
frame.
Thank you for stopping by Today!


Amazing project. Fab job x
ReplyDelete