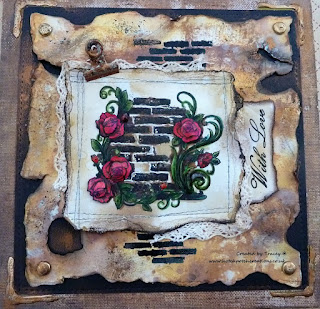
Canvas for the Boudoir!
Good Morning Crafters
Today we are sharing a step by step project to create a beautiful canvas for the boudoir by Gill.
We have a stockist locator on the Personal Impressions home page to enable you to find a stockist near you of the products Gill has used!
Sometime it is great to try
and think outside the box with your stash and here is a
lovely canvas for your boudoir made from some die cuts usually used in card
making
Vintage Line 3D Die cut block
Tim Holtz Distress Ink -
Vintage Velvet
Memento Ink - Angel Pink
Eleganza Crafter stickers
Decorative ribbon
20x20cm Square Canvas.
Tim Holtz stencil - Gothic
Modge Podge paper glue
Sticky buds
Glossy accents
Step
1
Ink
all over the canvas with the paler pink ink
Stencil
around the edges using the vintage velvet
Distress
around the edges
Step
2
Stick
the first larger layer to the canvas.
Wrap
the ribbon around the top of the smaller layer and secure the ends around the
back.
secure
this layer to the bottom of the first layer.
Step
3
To
give more dimension and definition
I
used glossy accents on the mirror and small pearl gems in place of the necklace
picture.
Place
the decoupage on the canvas and add the rest of the die cut images.
Step
4
Finish
off by adding bling around the edge of the image and you have a perfect vintage
canvas for your boudoir
Tip
- On each die cut sheet there is a lovely picture of a suggested lay out. Use
this to make a little gift card if you are giving the canvas as a special gift.
You know us crafters hate waste!
Thank you for visiting Today!
Enjoy your weekend!


Comments
Post a Comment