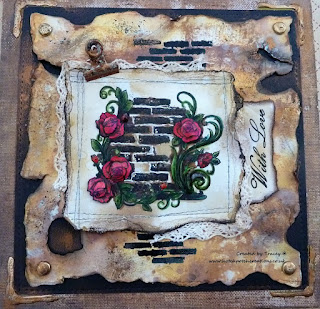
Decorative Frame using Studio Light
Good Morning Crafters
Today we are sharing Tracey's first design team step by step project with you.
If you wish to know a little bit more about Tracey and her crafting check out "meet the team" page.
If you wish to know a little bit more about Tracey and her crafting check out "meet the team" page.
She has used products from Personal Impressions website.
Items Used:
Deco Patch Square Frame – REF: CD695o
My Botanic Garden Quality Papers 6”x6” Pad by
Studio Light
Decopatch Sparkling Glue
Craft Stickers Adhesive backed sparkly gems by
Eleganza
Scissors, craft glue and double sided sticky
tape, paint brush.
Select 4-5 sheets of pattern paper from the My
Botanic Garden paper pad and tear into small pieces approx. 2.5cm x 2.5cm
roughly. Pour some of the sparkly Decopatch glue into a bowl ready.
Make sure you have a covered surface as the next
step is quite messy.
Step 2
Take the small pieces of patterned paper and
start to fix them to the Decopatch frame, it’s best to work in small areas so I
started in the corner and cover in glue first and then placed a piece on and
then covered with glue, the paper is thicker than normally used for Decopatch
but with plenty of glue will stick fine. You can overlap and use various shapes
and patterns of paper, this all helps add to the effect.
Repeat this technique around the frame
remembering to cover the edges and lips of inside the frame. The technique of
Decopatching doesn’t have to be neat as the effect works well if layer and
overlap, you don’t need to cover the remove-able backing piece unless you would
like too.
The frame may look murky at first as the glue
dries (approx. 4-6 hours- over night to be sure it is fully dry) it will have a
lovely glossy sparkly smooth effect on the frame.
Now we can start to reconstruct the frame, I
have used another sheet from the My Botanic Garden pad and cut it too fit
inside the frame (12.5cm x 12.5cm Approx.) and then popped the back on to the
frame and turned picture holders to hold in place. You could stick the backing
panel down but I have decided not too as then you can change the inside picture
on another occasion.
Next it is time to layer and decorate the inside
(the picture) I took another piece of pattern paper from the pad and cut to:
9cm x 9cm and choose 2 of the sheets from the pad with butterflies and fussy
cut them out. I then fixed everything together on the picture panel. I curled
the wings on the larger butterfly for added effect and only glued the smaller
butterflies using the centre of each butterfly.
Step 6
Final stage to making this lovely frame was the
finishing touches, I decided to use the Adhesive backed gems to decorate the
rim around the inside of the frame.
I placed the strips of gems along each and
trimmed them to fit and continued all the way around the frame.
A stunningly vintage feel frame all finished and
you can change the images inside whenever you feel like it. They would make a
great gift or home décor item for your own home.
Isn't this just beautiful for Tracey's first design team project.
Thank you for stopping by Today
Please leave a comment!


Tracey beautiful frame and great instructions, well done x x x 💕
ReplyDeleteThis comment has been removed by the author.
ReplyDeleteWonderful Tracy I love the frame I wish I could do this.
ReplyDeleteDebs xxx
{Debs Cards}